[Glue Finish Position]
Overview
Adjust the position to finish gluing on the body.
Make this adjustment when there is a problem with the glue amount when performing perfect binding using Perfect Binder PB-503.
- If a numeric value is entered in [Offset for All Size], it is applied to all the paper sizes. If a numeric value is entered for a specific paper size, the setting value becomes the sum of the entered value of the specific paper size and the entered value of [Offset for All Size].
Specifications
Category | Adjustment / Maintenance | ||
Location | Machine | Touch Panel | |
Printer driver | - | ||
Application | - | ||
Required options | Perfect Binder PB-503 | ||
Required items | - | ||
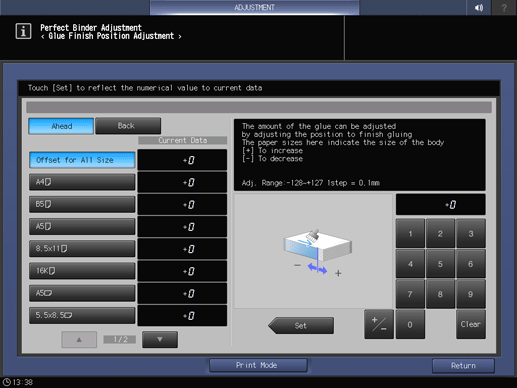
Setting items | [Offset for All Size] | Adjusts the gluing start position common to all the paper sizes. | |
Paper size selection key | Selects the paper size to adjust. | ||
[+] / [,] | Switches the paper size page. | ||
[Set] | Sets the numeric value entered using the keypad to the selected setting item. | ||
Remarks | The paper size used in this section refers to the body size for the cover. | ||
Reference | - | ||
Screen access | Touch panel - [MACHINE] - [Adjustment] - [Finisher Adjustment] - [Perfect Binder Adjustment] - [Glue Finish Position] | ||
Control panel - Utility/Counter - [Administrator Setting] - [System Setting] - [Expert Adjustment] - [Finisher Adjustment] - [Perfect Binder Adjustment] - [Glue Finish Position] | |||
Procedure
When using any paper tray, you need to set a cover tray by selecting [Perfect Bind] of [Output Setting]. For details, refer to [Cover Tray].


A perfect binding sample is output.

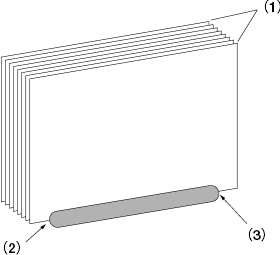
(1) Body (2) Gluing finish position in Ahead mode (3) Gluing finish position in Back mode


Use [+ / -] to select the plus or minus of the numeric value. To change [Current Data], press [Set].
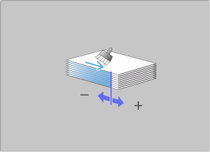
(-) To decrease, (+) To increase
[Adj. Range:-128~+127 1step = 0.1mm]


 in the upper-right of a page, it turns into
  and is registered as a bookmark.