Setting Inspection Areas
Overview
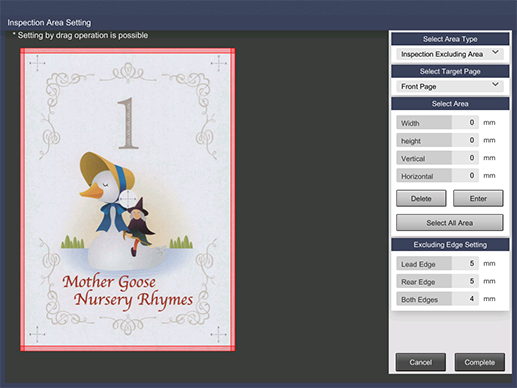
Set the areas that you do not want to be covered in the automatic inspection, or the areas you want to apply a special inspection such as when you want to modify a part of an image for printing, such as variable printing.
Preventing the occurrence of unnecessary errors, and automating checks such as the checking of serial numbers allows for inspections to be performed with greater efficiency.

- The preview image for this function is displayed vertically in the paper feed direction, rather than in the crosswise direction.
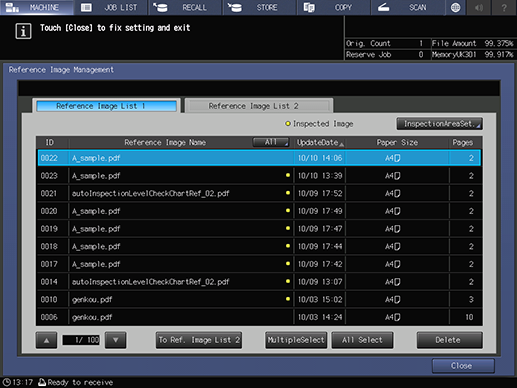
- For details about configuring inspection area settings, refer to [InspectionAreaSet.].
Setting Procedure


Step No. | Item | Description |
|---|---|---|
1 | [Select Area Type] | Set the types of area you want to configure. For details, refer to [Select Area Type]. |
2 | [Select Target Page] | Select the side to which the automatic inspection area settings will be applied. For details, refer to [Select Target Page]. |
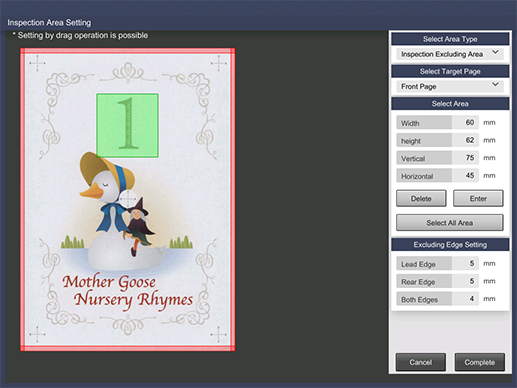
3 | [Select Area] | Set the area for the side selected with [Select Target Page]. If you have a mouse connected to the system, you can also drag the cursor to set the area. For details, refer to [Select Area]. |
4 | [Excluding Edge Setting] | Set the areas at the edges of the paper that will not be covered by the inspection. To use this function, select [Inspection Excluding Area] with [Select Area Type] in Step 1. For details, refer to [Excluding Edge Setting]. |
5 | [Sequential Check] | Configure the settings for performing inspections to check whether serial numbers or barcodes in the set areas are changing correctly. Set when selecting [Barcode Area] or [Serial No. (0-9) Area] with [Select Area Type] in Step 1. This function is an optional function. To use this setting, please contact your service representative. For details, refer to [Select Area Type] and [Sequential Check]. |
Specified areas are shown with a colored frame on the preview screen.


 in the upper-right of a page, it turns into
  and is registered as a bookmark.