Creating New Reference Images and Performing Automatic Inspections
Overview
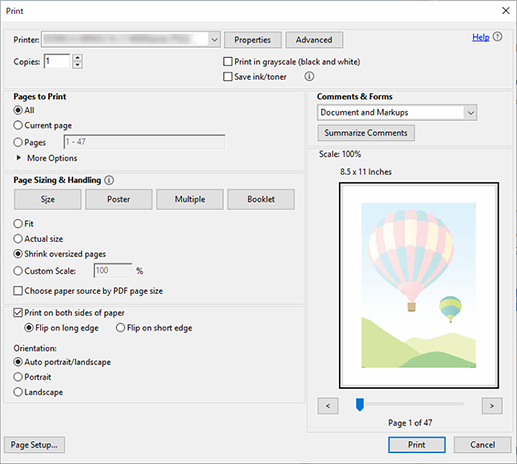
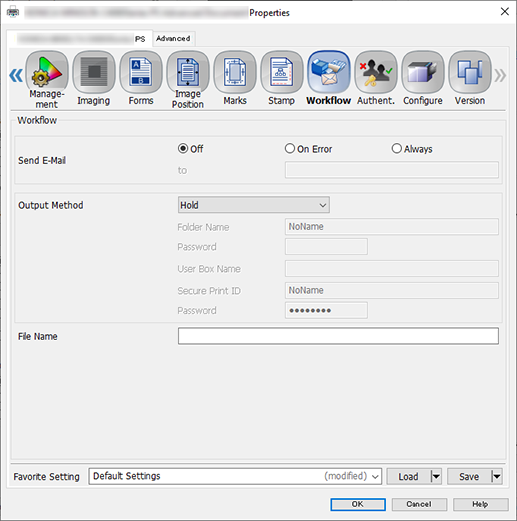
When performing a new automatic inspection, create a reference image before printing the job.
- Textured paper, unprinted insertion paper, paper with punch holes, tab paper, and insertion paper are not subject to automatic inspections.
- You can perform inspections when using paper with the numbering and page numbers already printed on it, or when using the stamp copying function for the date and time, by specifying the areas not targeted for inspection. For details, refer to Automatic Inspection Area.
Procedure


You can perform the same operation using AccurioPro Print Manager.


This then creates the reference image.
Prints out a single copy as proof.
For variable printing, refer to Decoding and Checking Barcode and Serial No. Areas.
After successfully printing the proof copy, the printed data is registered as a reference image. The reference image has the same file name as the original.
The printed data is also registered and displayed as a reference image on the [MACHINE], [Ref. Image Manage.], and [Reference Image List 1] options on the system’s Touch panel. For details, refer to [Ref. Image Manage.] Screen.
If, after checking the contents, you want to recreate a reference image, repeat Step 1 through Step 9.
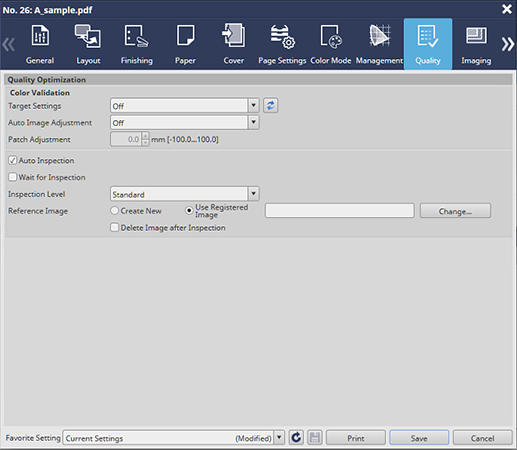
Item | Setting Value |
|---|---|
[Inspection Level] | For example, select [Standard] |
[Reference Image] | Select [Use Registered Image], press [Change...], and on the subsequently displayed screen select the reference image registered in Step 9 |
The print job begins, followed by the automatic inspection.
If an abnormality is detected during the inspection, it is displayed on the [MACHINE] and [IQ Detected Result] screens on the system’s Touch panel. For details, refer to [IQ Detected Result].
You can check the automatic inspection reports using the system’s Touch panel or from Web Utilities on Auto Inspection Unit UK-301.
- For details about automatic inspection reports, refer to Automatic Inspection Reports.


 in the upper-right of a page, it turns into
  and is registered as a bookmark.