Job Conditions
Overview
Changes to the job conditions impact upon the condition of the system, and can lead to issues during printing.
In order to prevent issues such as image defects, it is necessary to take the appropriate measures according to the job conditions.
This section introduces a range of helpful tips for everyday use, using 3 characteristic job conditions as examples.
When Printing Large Volumes or Important Jobs
Use the "Auto Image Adjustment" function if Intelligent Quality Optimizer IQ-501 is mounted to the system.

What is the "Auto Image Adjustment" function?
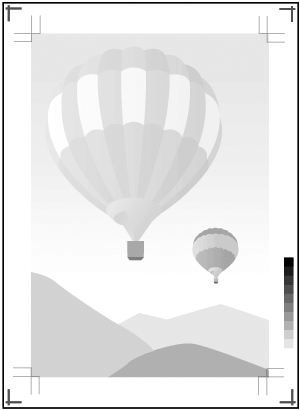
Auto Image Adjustment is a function that automatically prints adjustment crop marks and gradation patches in the trim margin of the printed item, which are then scanned and corrected by the sensor on Intelligent Quality Optimizer IQ-501.
Corrects the image position and any gradation misalignment in real time, improving image stability during printing.
For details about the operation method, refer to To Perform Auto Image Adjustment.
Make the following adjustments when printing in large volumes, or when printing jobs in which density is important. Doing this helps stabilize the image quality of the printed item.
To achieve a stable both-side accuracy or immediately before outputting a job in which both-side accuracy is important, perform the both-side adjustment.
For details, refer to Adjustment Workflow for Each Job.
Just before printing a job for which shading is important, adjust the image quality.
For details, refer to Daily Adjustment Flow (High Precision).
When Reprinting Previously Printed Jobs
To print previously printed jobs with the same finish as the original print, you can improve reproducibility by creating and using "image position" and "image quality" adjustment values set as reference values previously.
The 3 operations that must be performed are listed below.
Create image position and image quality adjustment values
Register these adjustment values as reference values and use them accordingly
Adjust the color density control to increase the reproduction accuracy of the shading (only when Intelligent Quality Optimizer IQ-501 or Relay Unit RU-518m is connected)
Register image position adjustment values: Adjustment Flow for When Using New Types of Paper
Register image quality adjustment values automatically: [Each Paper Type Color Adj.] (For Intelligent Quality Optimizer IQ-501)
Register image quality adjustment values manually: Measure the density adjustment values using the colorimeter and register the values. For details, refer to the AccurioPro ColorManager User's Guide.
Set the image position adjustment value: [Recall] or [No. Recall]
Set the image quality adjustment value: [Color Density]
Performing automatically: [Basic Setting] - [Periodical Adj. Execution]
Performing manually: [Color Density Manual Control]
 in the upper-right of a page, it turns into
  and is registered as a bookmark.