
Operation Workflow
Procedure
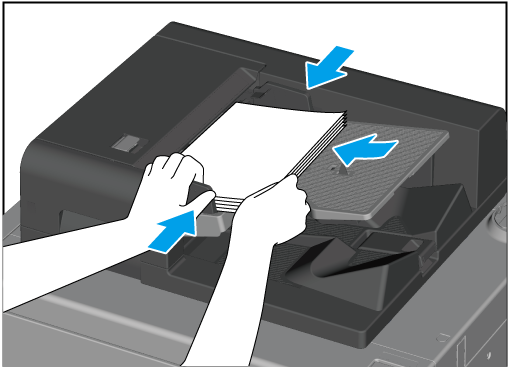
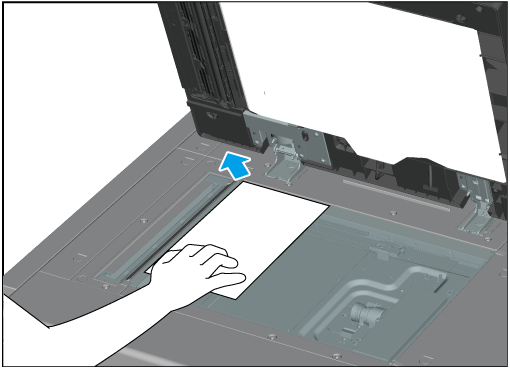


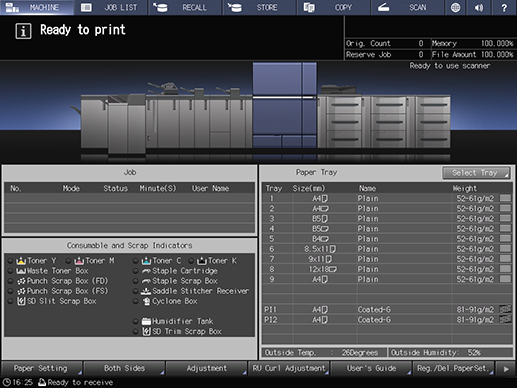

For details about copy conditions, refer to Configurable Settings on the [COPY] Screen.
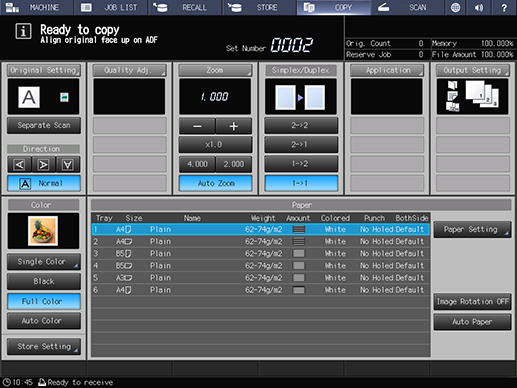
Proceed to Step 9 when scanning the original in one go.
Proceed to Step 5 when dividing up the scan of the original into multiple parts.

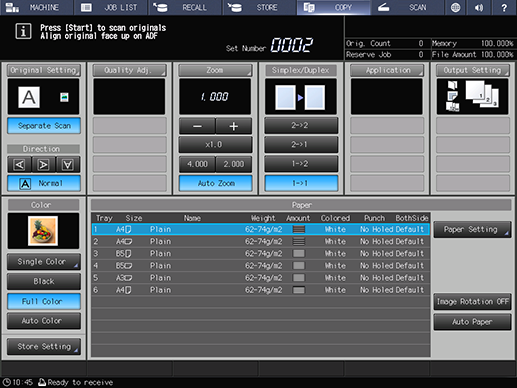
This starts [Separate Scan] mode. [Separate Scan] may already be selected depending on the configured copy conditions.

This scans the original.
This scans the next original.
This exits [Separate Scan] mode.
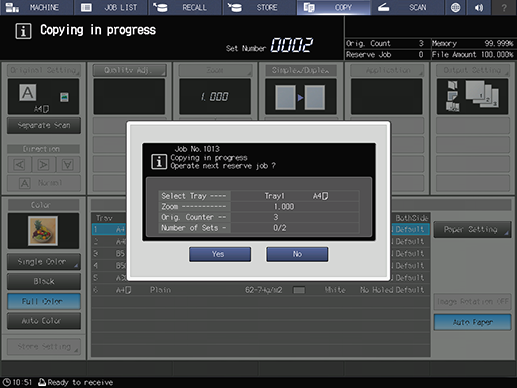
Copying starts. A dialog box confirming the next job reservation is displayed.
The job reservation dialog box disappears automatically when the copy operation is complete. You can also make the dialog box disappear by pressing [No].
This completes the copy operation.
Proceed to Step 10 if you want to reserve a job.
Proceed to Step 11 if you want to cancel a copy job.

This allows you to reserve the next job to be copied. Operates in the same way as with regular copying.
This pauses the job that is currently underway and displays a dialog box.
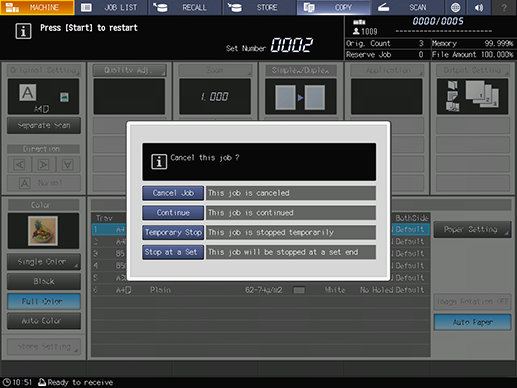
[Cancel Job]: The job is canceled. All of the scanned data is erased.
[Continue]: The job is continued.
[Temporary Stop]: The job is temporarily paused. To restart the job, press Start on the Control panel. The originals which have not yet been scanned are temporarily paused and remain in the ADF.
[Stop at a Set]: Temporarily pauses the job when a set of copies has been completed. To restart the job, press Start on the Control panel. If there are originals which have not yet been scanned in the ADF, the originals are all scanned and all information scanned is output upon restarting. [Stop at a Set] is displayed when Image Controller IC-610 is mounted.

 in the upper-right of a page, it turns into
  and is registered as a bookmark.