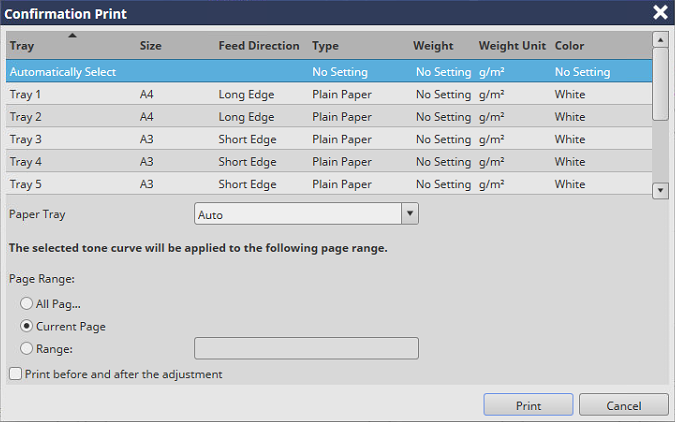
[Confirmation Print...]
Overview
Print a sample of the job to which the tone curve adjustment value is applied.
You can check the output image quality in real-time to see how images are printed with the current settings.
- The Image Controller is required to use this function. For details, refer to What Is AccurioPro Print Manager?.
Specifications
Category | Print Workflow | |||
Location | Machine | Touch Panel | ||
Printer driver | - | |||
Application | AccurioPro Print Manager | |||
Required options | - | |||
Required items | - | |||
Setting items | [Paper Tray] | Select the desired paper tray from the menu list. | ||
[Page Range:] | [All Pages] | Select the pages to make a confirmation print for. | ||
[Current Page] | ||||
[Range:] | ||||
[Print before and after the adjustment] | To also print the image before tone curve adjustment, select this check box. | |||
[Print] | Prints a sample. | |||
[Cancel] | Moves to the previous screen without printing. | |||
Remarks | - | |||
Reference | - | |||
Screen access | AccurioPro Print Manager - Select a job. - [Job Management] - [Tone Curve Adjustment...] - [Confirmation Print...] | |||
AccurioPro Print Manager - Select a job, and right-click. - [Tone Curve Adjustment...] - [Confirmation Print...] | ||||
Touch panel - [CNTL] - Select a job. - [Job Management] - [Tone Curve Adjustment...] - [Create...] - [Confirmation Print...] | ||||
Touch panel - [CNTL] - Select a job, and right-click. - [Tone Curve Adjustment...] - [Confirmation Print...] | ||||
Procedure
The setting screen is displayed.


If [Range:] is selected, enter the page number.

 in the upper-right of a page, it turns into
  and is registered as a bookmark.